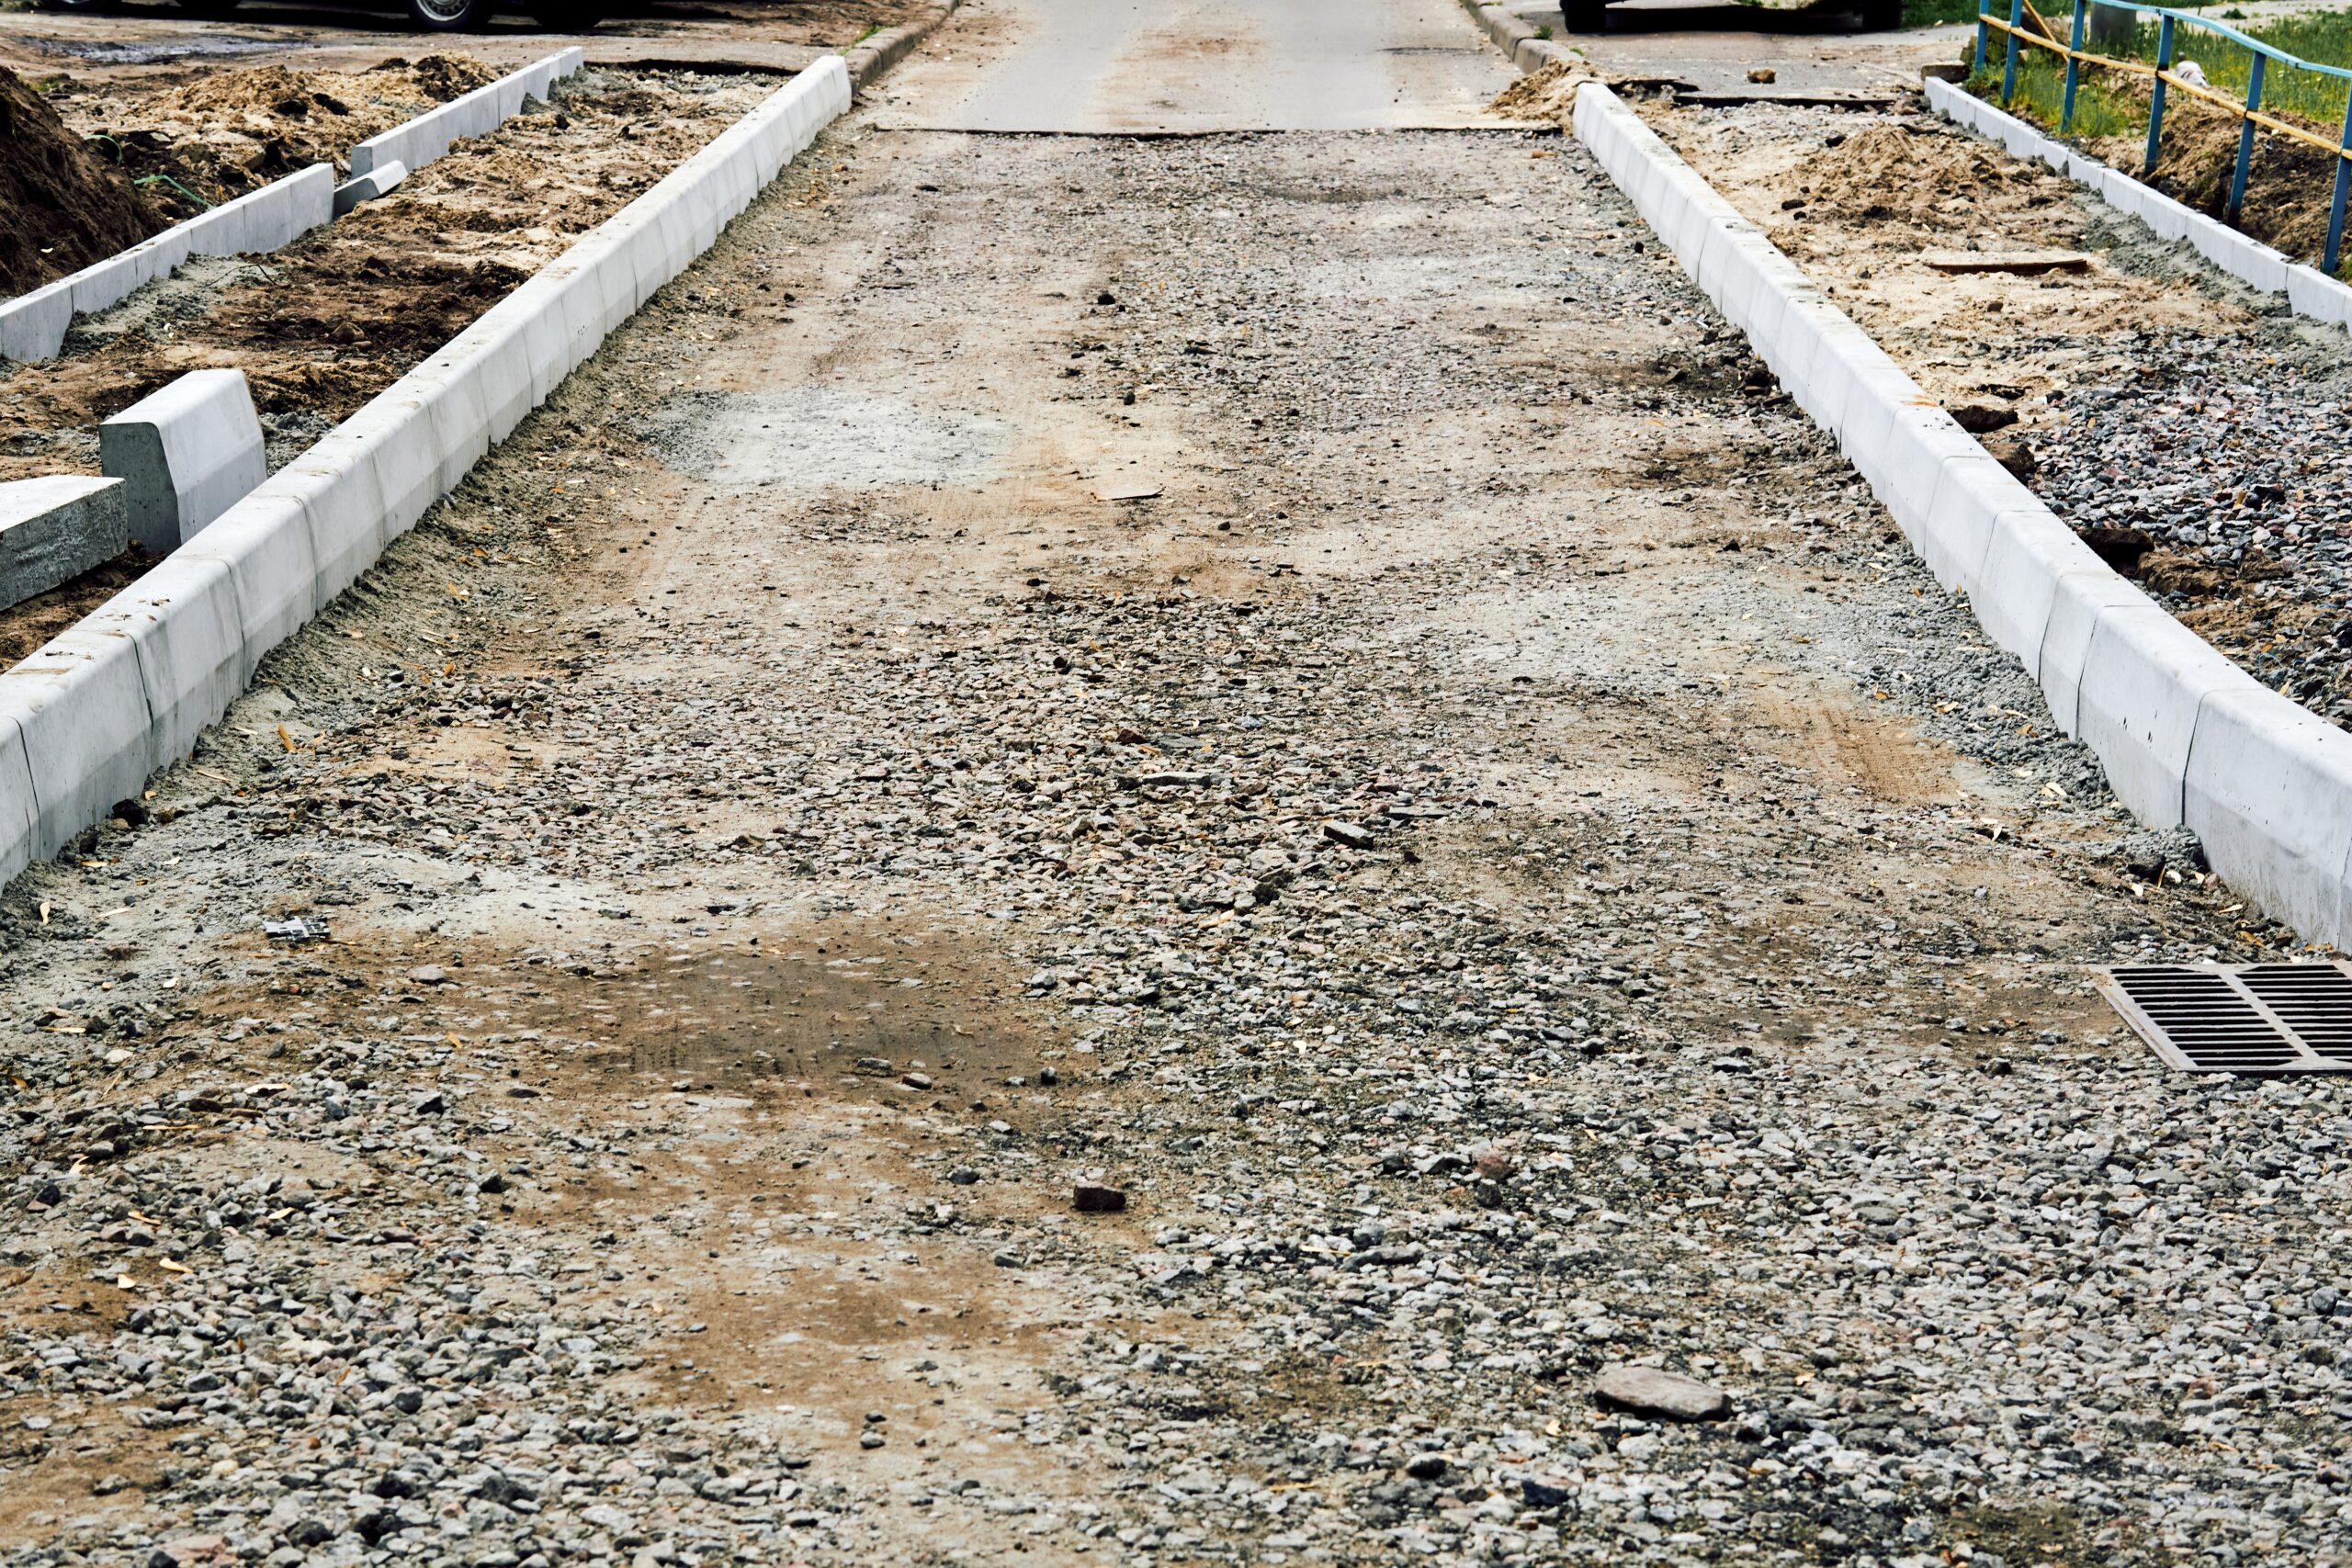
A gravel driveway is a fantastic option if you need to install a new driveway at your home or business. They’re cost-effective, require minimal maintenance, allow for good drainage, and are customizable. Plus, gravel driveways are a do-it-yourself project that you can tackle yourself.
If you want to know how to install a DIY gravel driveway, we’re here to help. We’ll list some of the necessary steps, helpful tips, and some of the best equipment required to complete the project.
How To Install a DIY Gravel Driveway
Follow these seven steps to install your own gravel driveway.
1. Mark the Path of the Driveway
Begin by determining the location of the driveway and marking the perimeter with landscape stakes and string.
2. Remove Grass and Topsoil
Remove any grass and topsoil from the designated area, either manually or by hiring a professional excavator.
3. Determine the Amount of Gravel Needed
Calculate the amount of gravel required by multiplying the driveway’s height, length, and depth to obtain the cubic feet needed, then dividing this by 27 to convert to cubic yards. If you need additional assistance with this step, you can consult with your gravel supplier to determine the number of tons of gravel necessary based on the selected stone.
4. Level the Path the Driveway Will Be On
Before laying down the gravel, you must level the driveway path by hand or with machinery. We also recommend installing a weed barrier to prevent unwanted growth.
5. Spread and Compact the Base Layer of Gravel
The first step of laying down the gravel is to spread and compact the first layer. We recommend using #4 crushed limestone for a firm foundation.
6. Spread the Middle Layer of Gravel
Then you can lay down the middle layer of gravel. We recommend using #53 crushed limestone to enable water drainage and promote compaction.
7. Spread and Smooth the Top Layer of Gravel
Finally, spread and smooth the top layer of gravel, typically #8 crushed limestone, river rock, or pea gravel, is best.
DIY Gravel Driveway Helpful Tips
While installing a gravel driveway is something you can do on your own, it can be challenging. Don’t forget to follow these helpful tips along the way!
- Install Landscaping Fabric – Before laying down gravel, it’s best to put down a layer of landscaping fabric. This prevents the growth of plants and weeds beneath the surface and minimizes erosion and shifting.
- Implement a Border Around the Driveway – Putting a border around the driveway to contain the movement of loose stones is highly recommended. If you do opt to install a border, lay down the bricks or cobblestones before spreading out the gravel.
- Compact the Gravel Between Each Layer – As listed above, you’ll install three gravel layers. It’s crucial that you carefully compact each layer as you go. This will prevent erosion and the shifting of rocks.
- Have the Right Tools – Before you start your DIY gravel driveway project, be sure you have the correct tools. You should have a shovel, rake, wheelbarrow, and landscape stakes and string. If you want the ultimate gravel driveway equipment, look to the Agritek Driveway Scraper.
Invest in High-Quality Driveway Equipment
The Agritek Driveway Scraper is a piece of equipment used for driveway maintenance. It’s designed to scrape the surface of gravel driveways, removing potholes, ruts, and other imperfections that can develop over time.
The Driveway Scraper is typically attached to a tractor or other heavy machinery and dragged along the driveway’s surface to level the gravel and create a smooth surface. This can help improve the overall appearance of the driveway, make it safer and more functional to drive on, and prevent wear and tear.
If you’re interested in the Driveway Scraper, give our team a call or contact us online for more information.
The material and information contained on this website is for general information purposes only. You should not rely upon the material or information on the website as a basis for making business, legal or other decisions.
