When it comes to choosing the right surface for your driveway, the options can be overwhelming. Each material offers its own benefits and challenges that can significantly impact your property’s appearance, maintenance requirements, and overall functionality.
Let’s compare two popular options: gravel vs. concrete driveways.
Gravel vs. Concrete Driveways: Which Is Best?
From initial costs and maintenance to durability and aesthetics, we’ll provide the information you need to make the best choice for your driveway.
Plus, if you’re leaning towards a gravel driveway, we’ll introduce you to a tool that makes maintenance a breeze—the Agritek Driveway Scraper, designed to keep your gravel driveway in top shape with minimal effort.
1. Initial Cost
The cost of installing a driveway is often one of the most critical factors to consider. Here’s how gravel and concrete driveways compare in terms of upfront expenses:
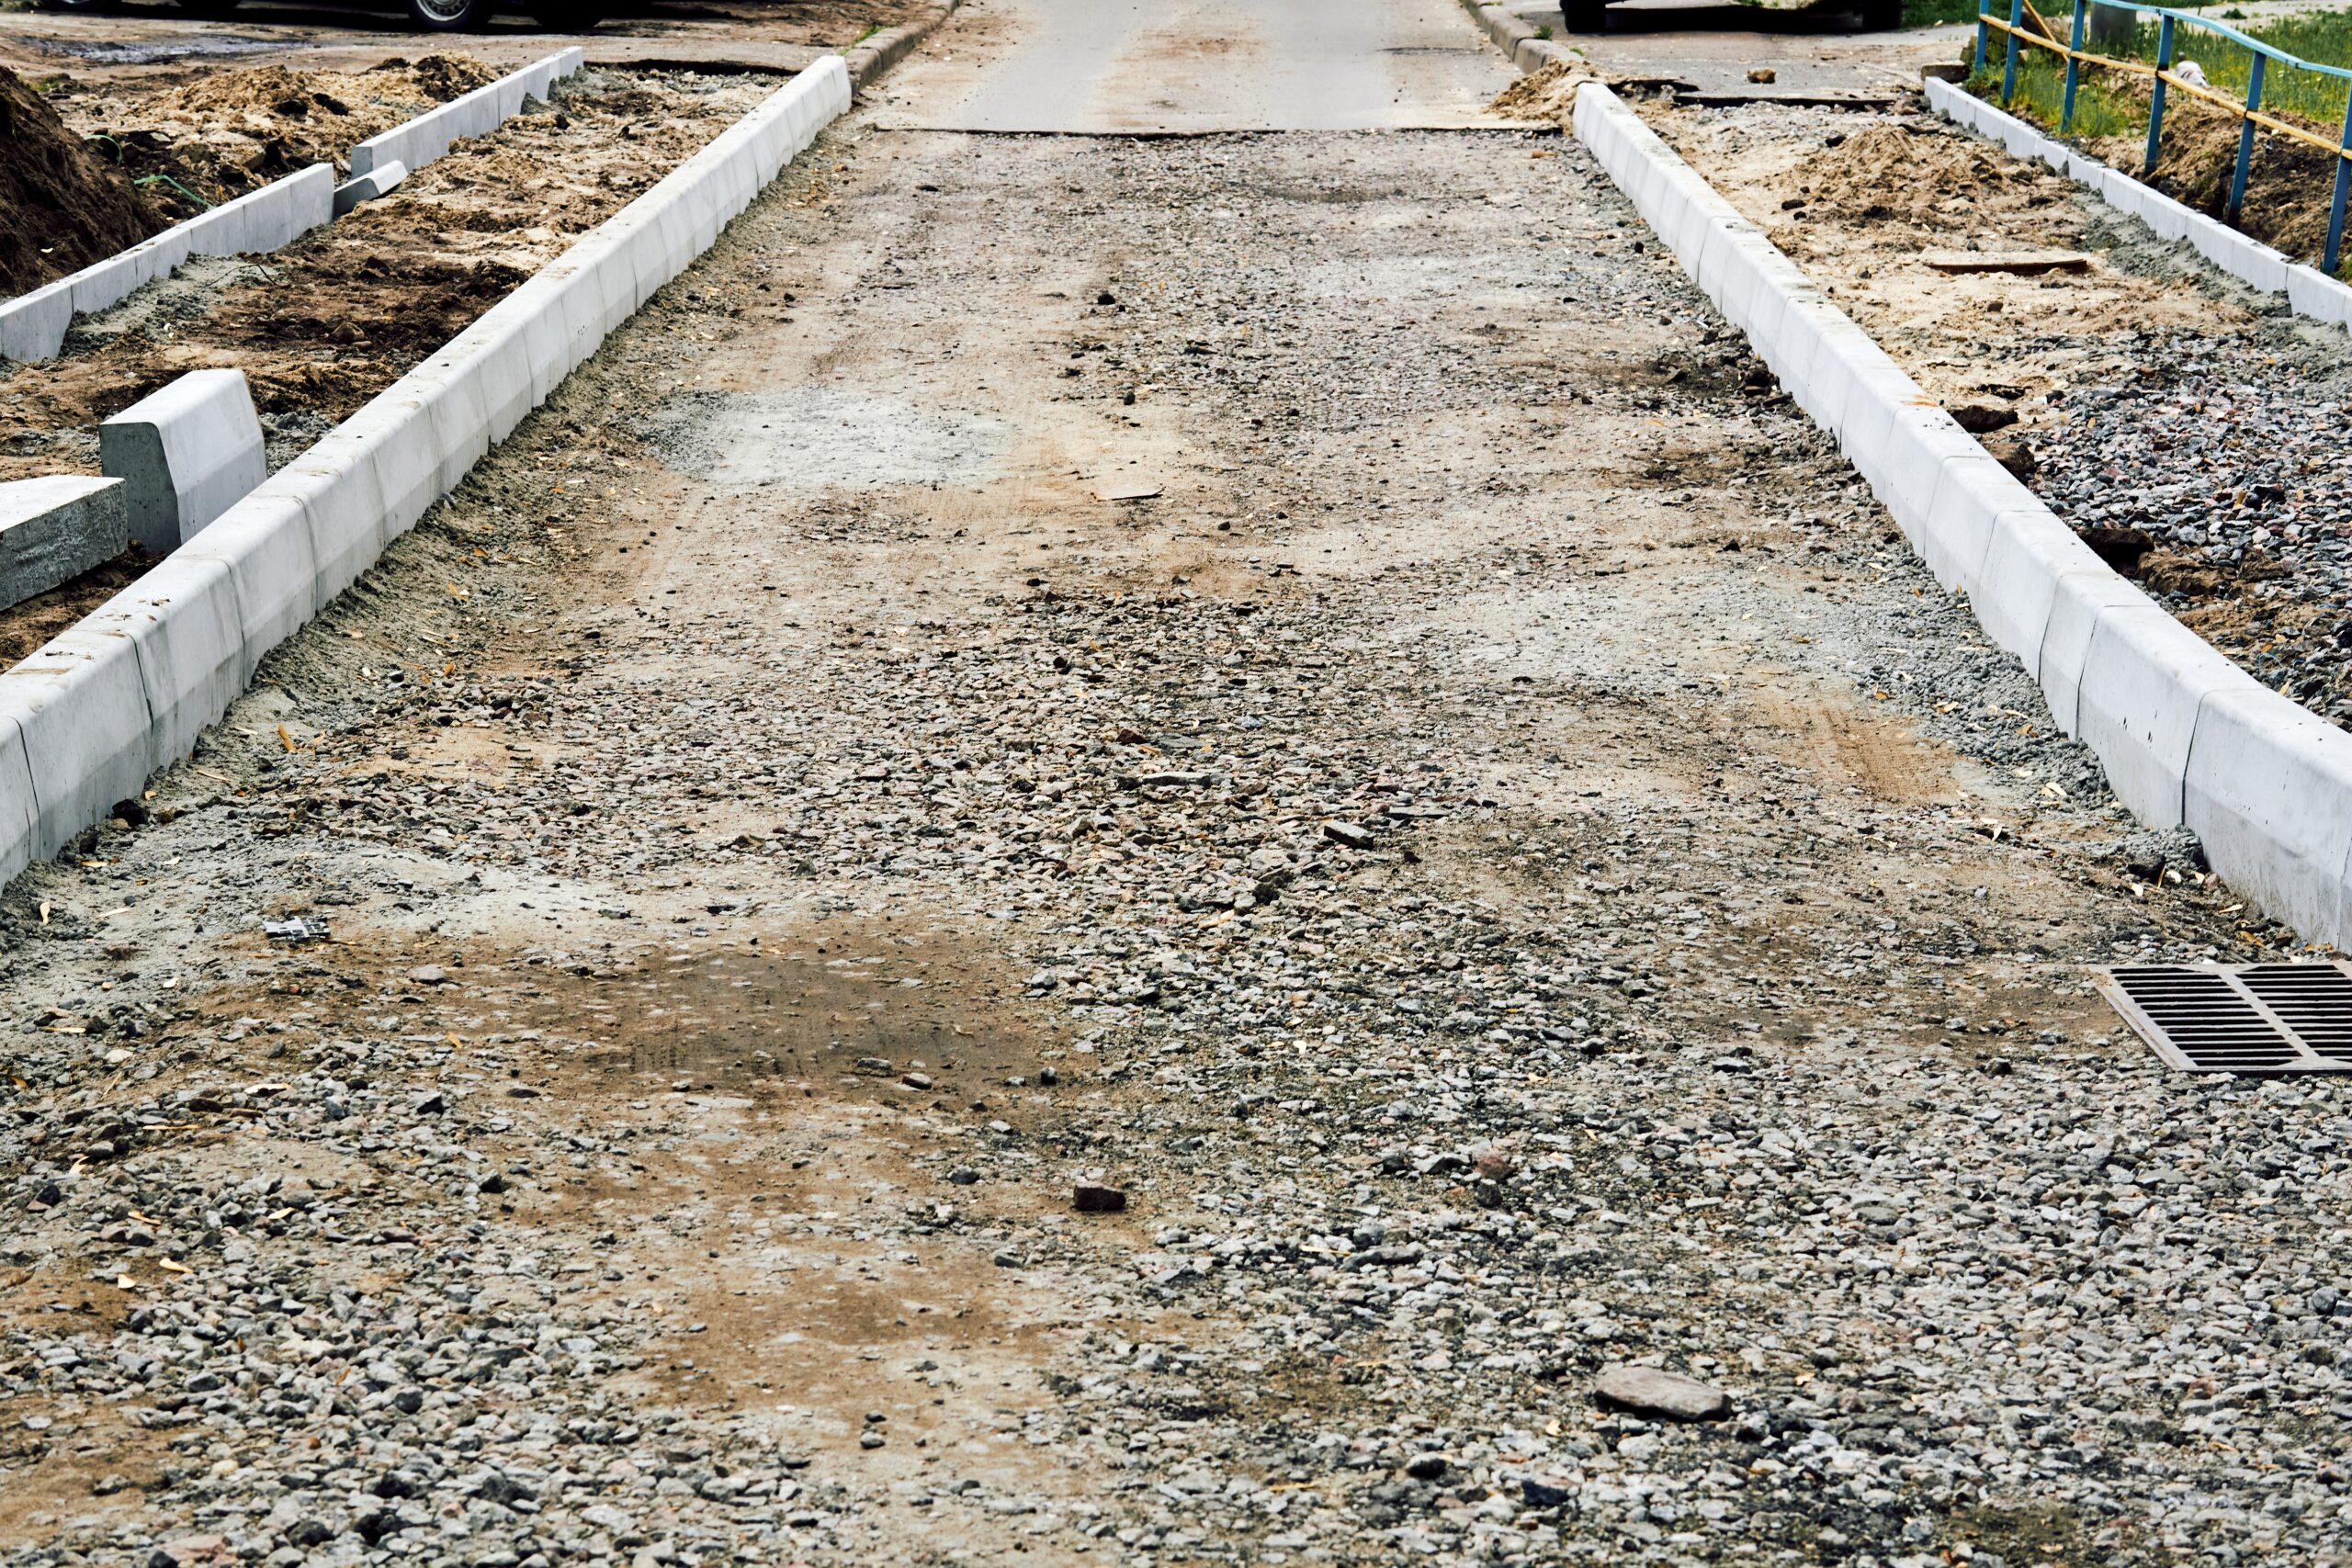
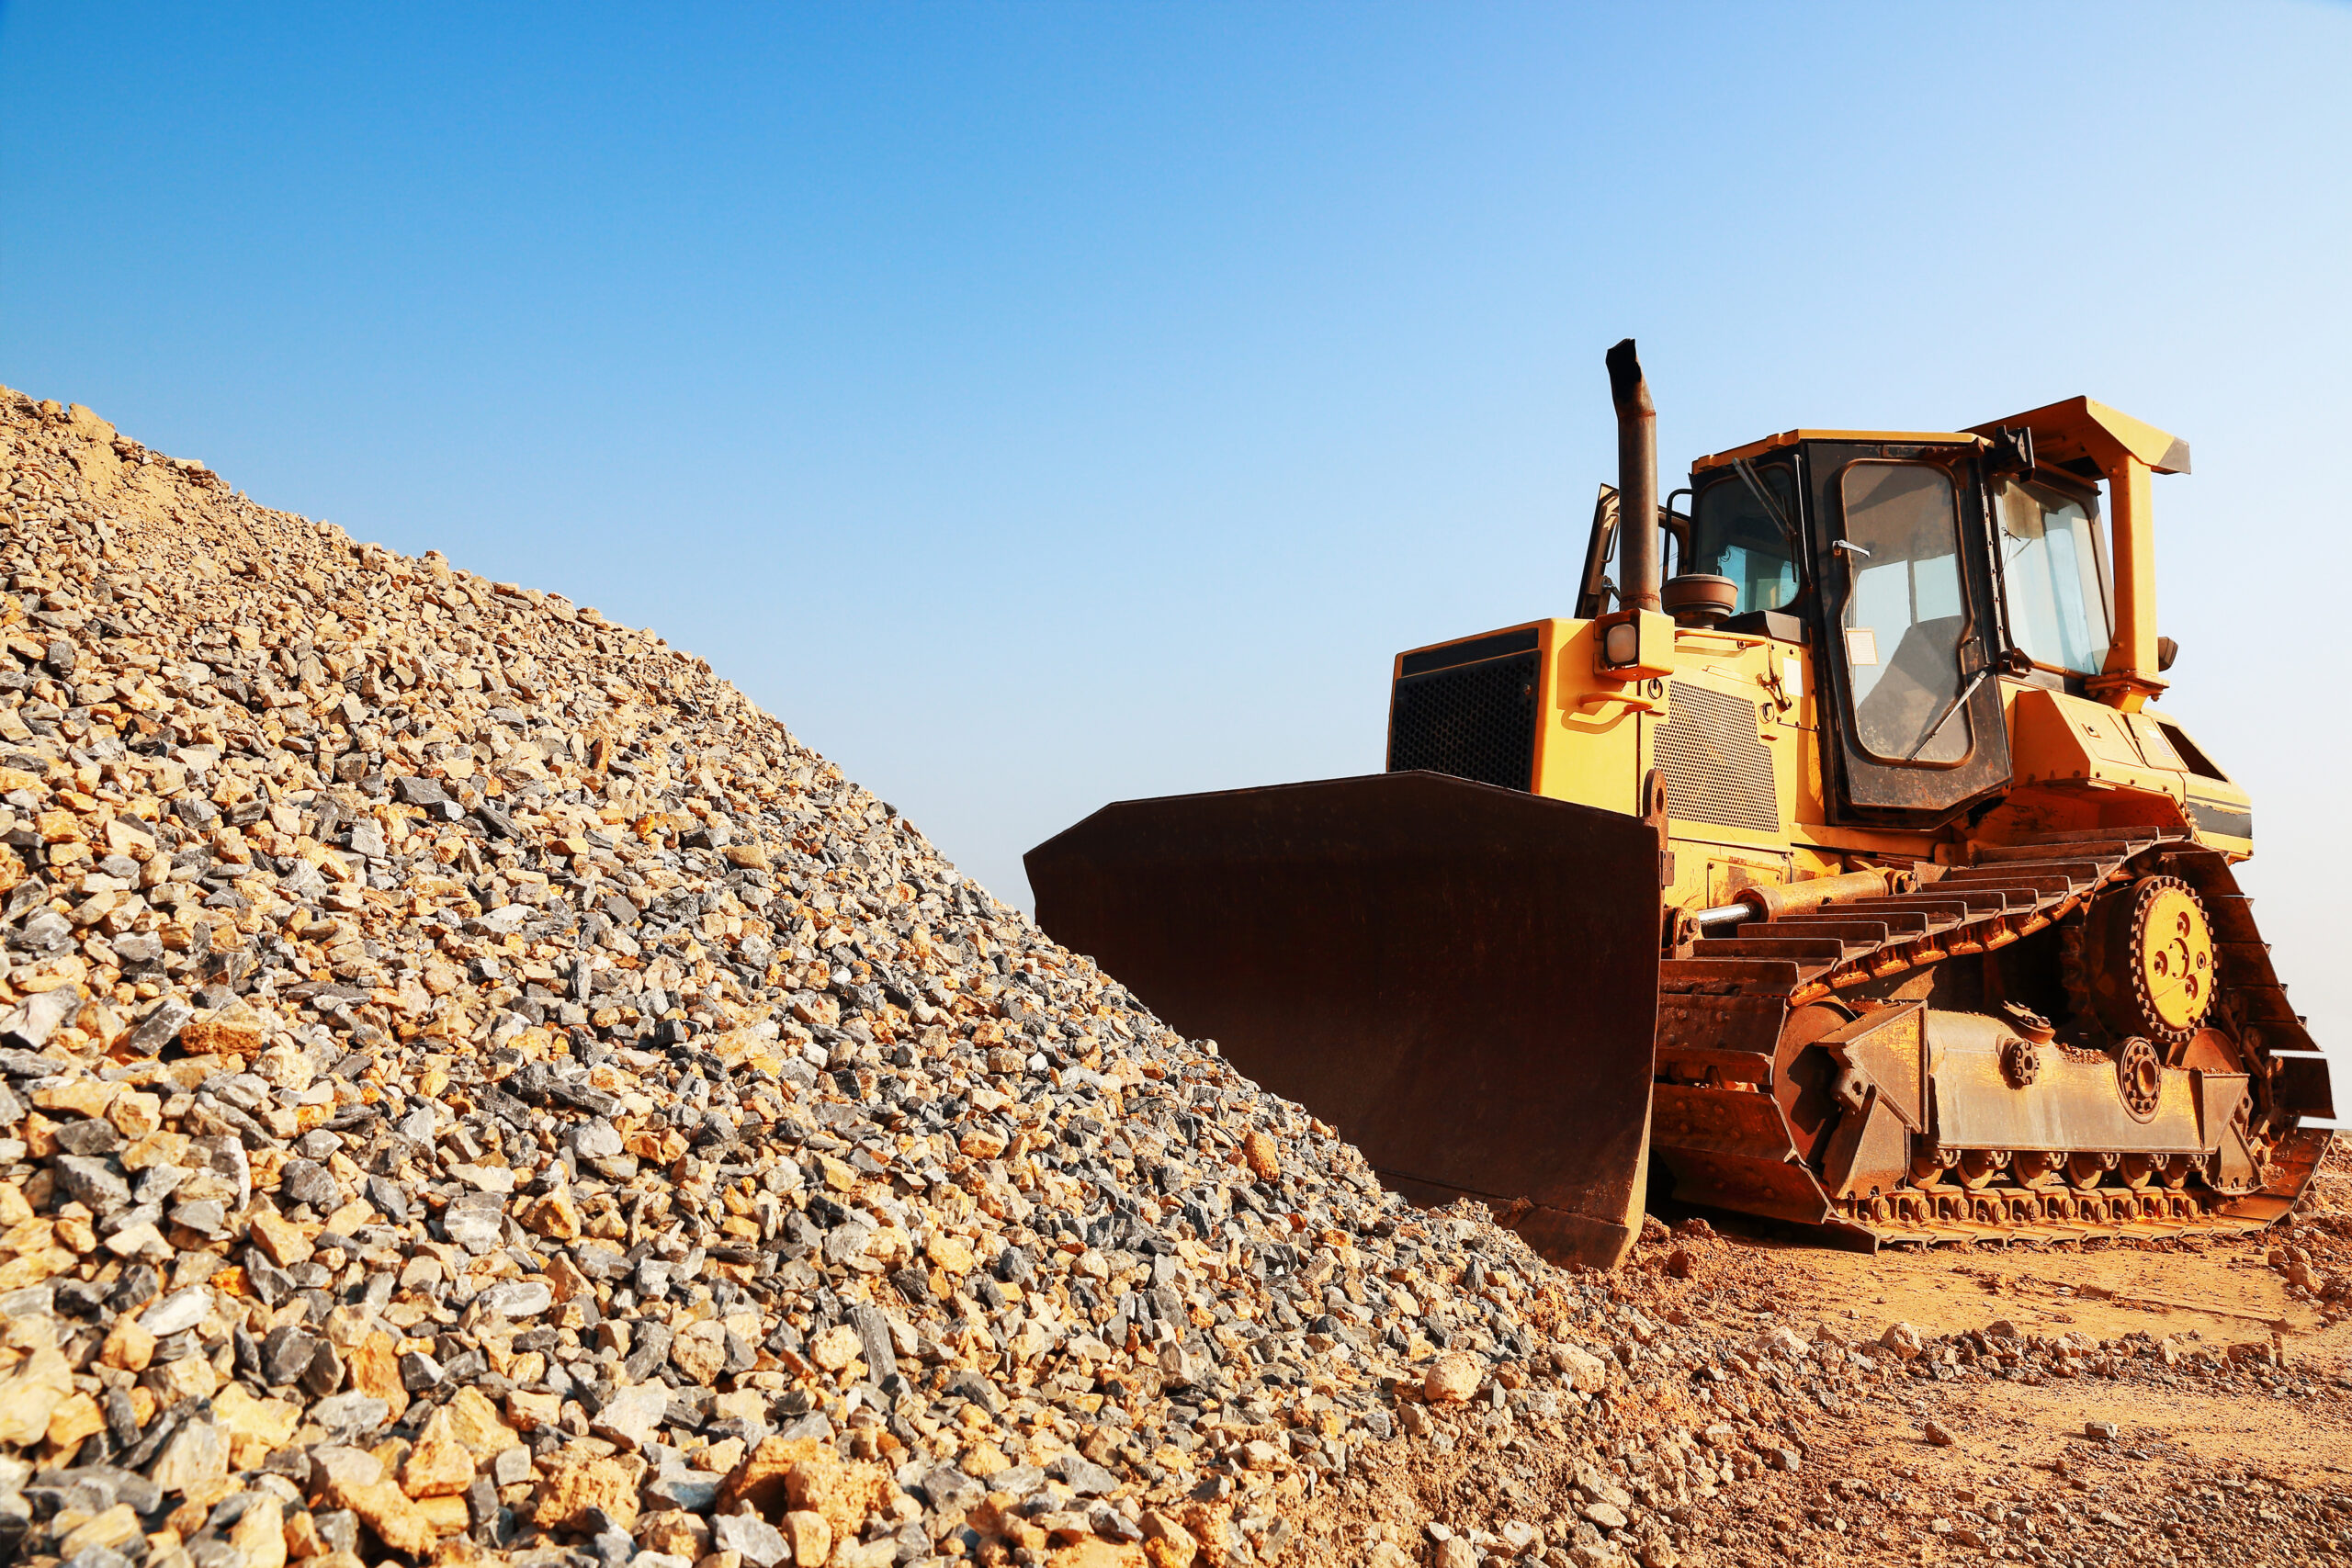
Gravel Driveways
Lower Initial Cost:
Gravel driveways are known for their affordability. The initial cost is significantly lower compared to other surfaces, making it an attractive option for homeowners looking to save on their driveway project.
Lower Cost per Square Foot:
The cost of a gravel driveway typically ranges from $1 to $3 per square foot. However, this price can fluctuate depending on the quality of the gravel and whether you choose to hire professionals.
Easy Installation Process:
The installation process for a gravel driveway is relatively straightforward and can often be completed as a DIY project, further reducing costs.

Concrete Driveways
Higher Initial Cost:
Concrete driveways come with a higher upfront cost. This is due to the materials, labor, and specialized equipment required for installation.
Higher Cost per Square Foot:
Installing a concrete driveway usually ranges between $4 and $10 per square foot. However, this price can vary depending on factors such as the concrete’s thickness, the project’s complexity, and any additional finishes you might choose.
Challenging Installation Process:
Installing a concrete driveway is more complex and typically requires professional contractors. The process includes excavation, site preparation, laying a sub-base, pouring the concrete, and finishing the surface.
2. Maintenance
Maintenance is a crucial aspect to evaluate when considering the longevity and upkeep of your driveway. Gravel and concrete driveways have different maintenance requirements, each with its own set of challenges and solutions:
Gravel Driveways
Required Regular Raking and Filling:
Over time, gravel can shift, creating uneven surfaces and low spots, so gravel driveways require regular maintenance to keep them looking their best and functioning properly. Regular raking is necessary to redistribute the gravel evenly and fill in any depressions that develop. Adding new gravel periodically is common to maintain the desired depth and surface quality.
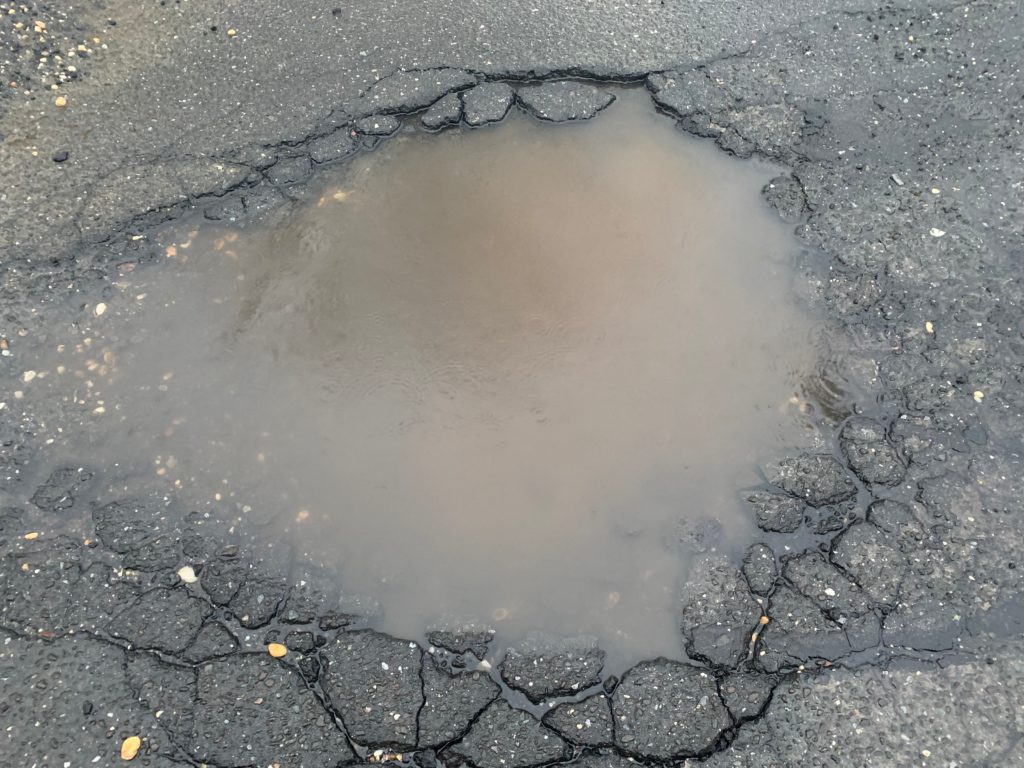
Possible Erosion:
Gravel driveways are particularly susceptible to erosion, especially after heavy rain. Water can wash away the finer particles, leaving behind larger stones and creating ruts.
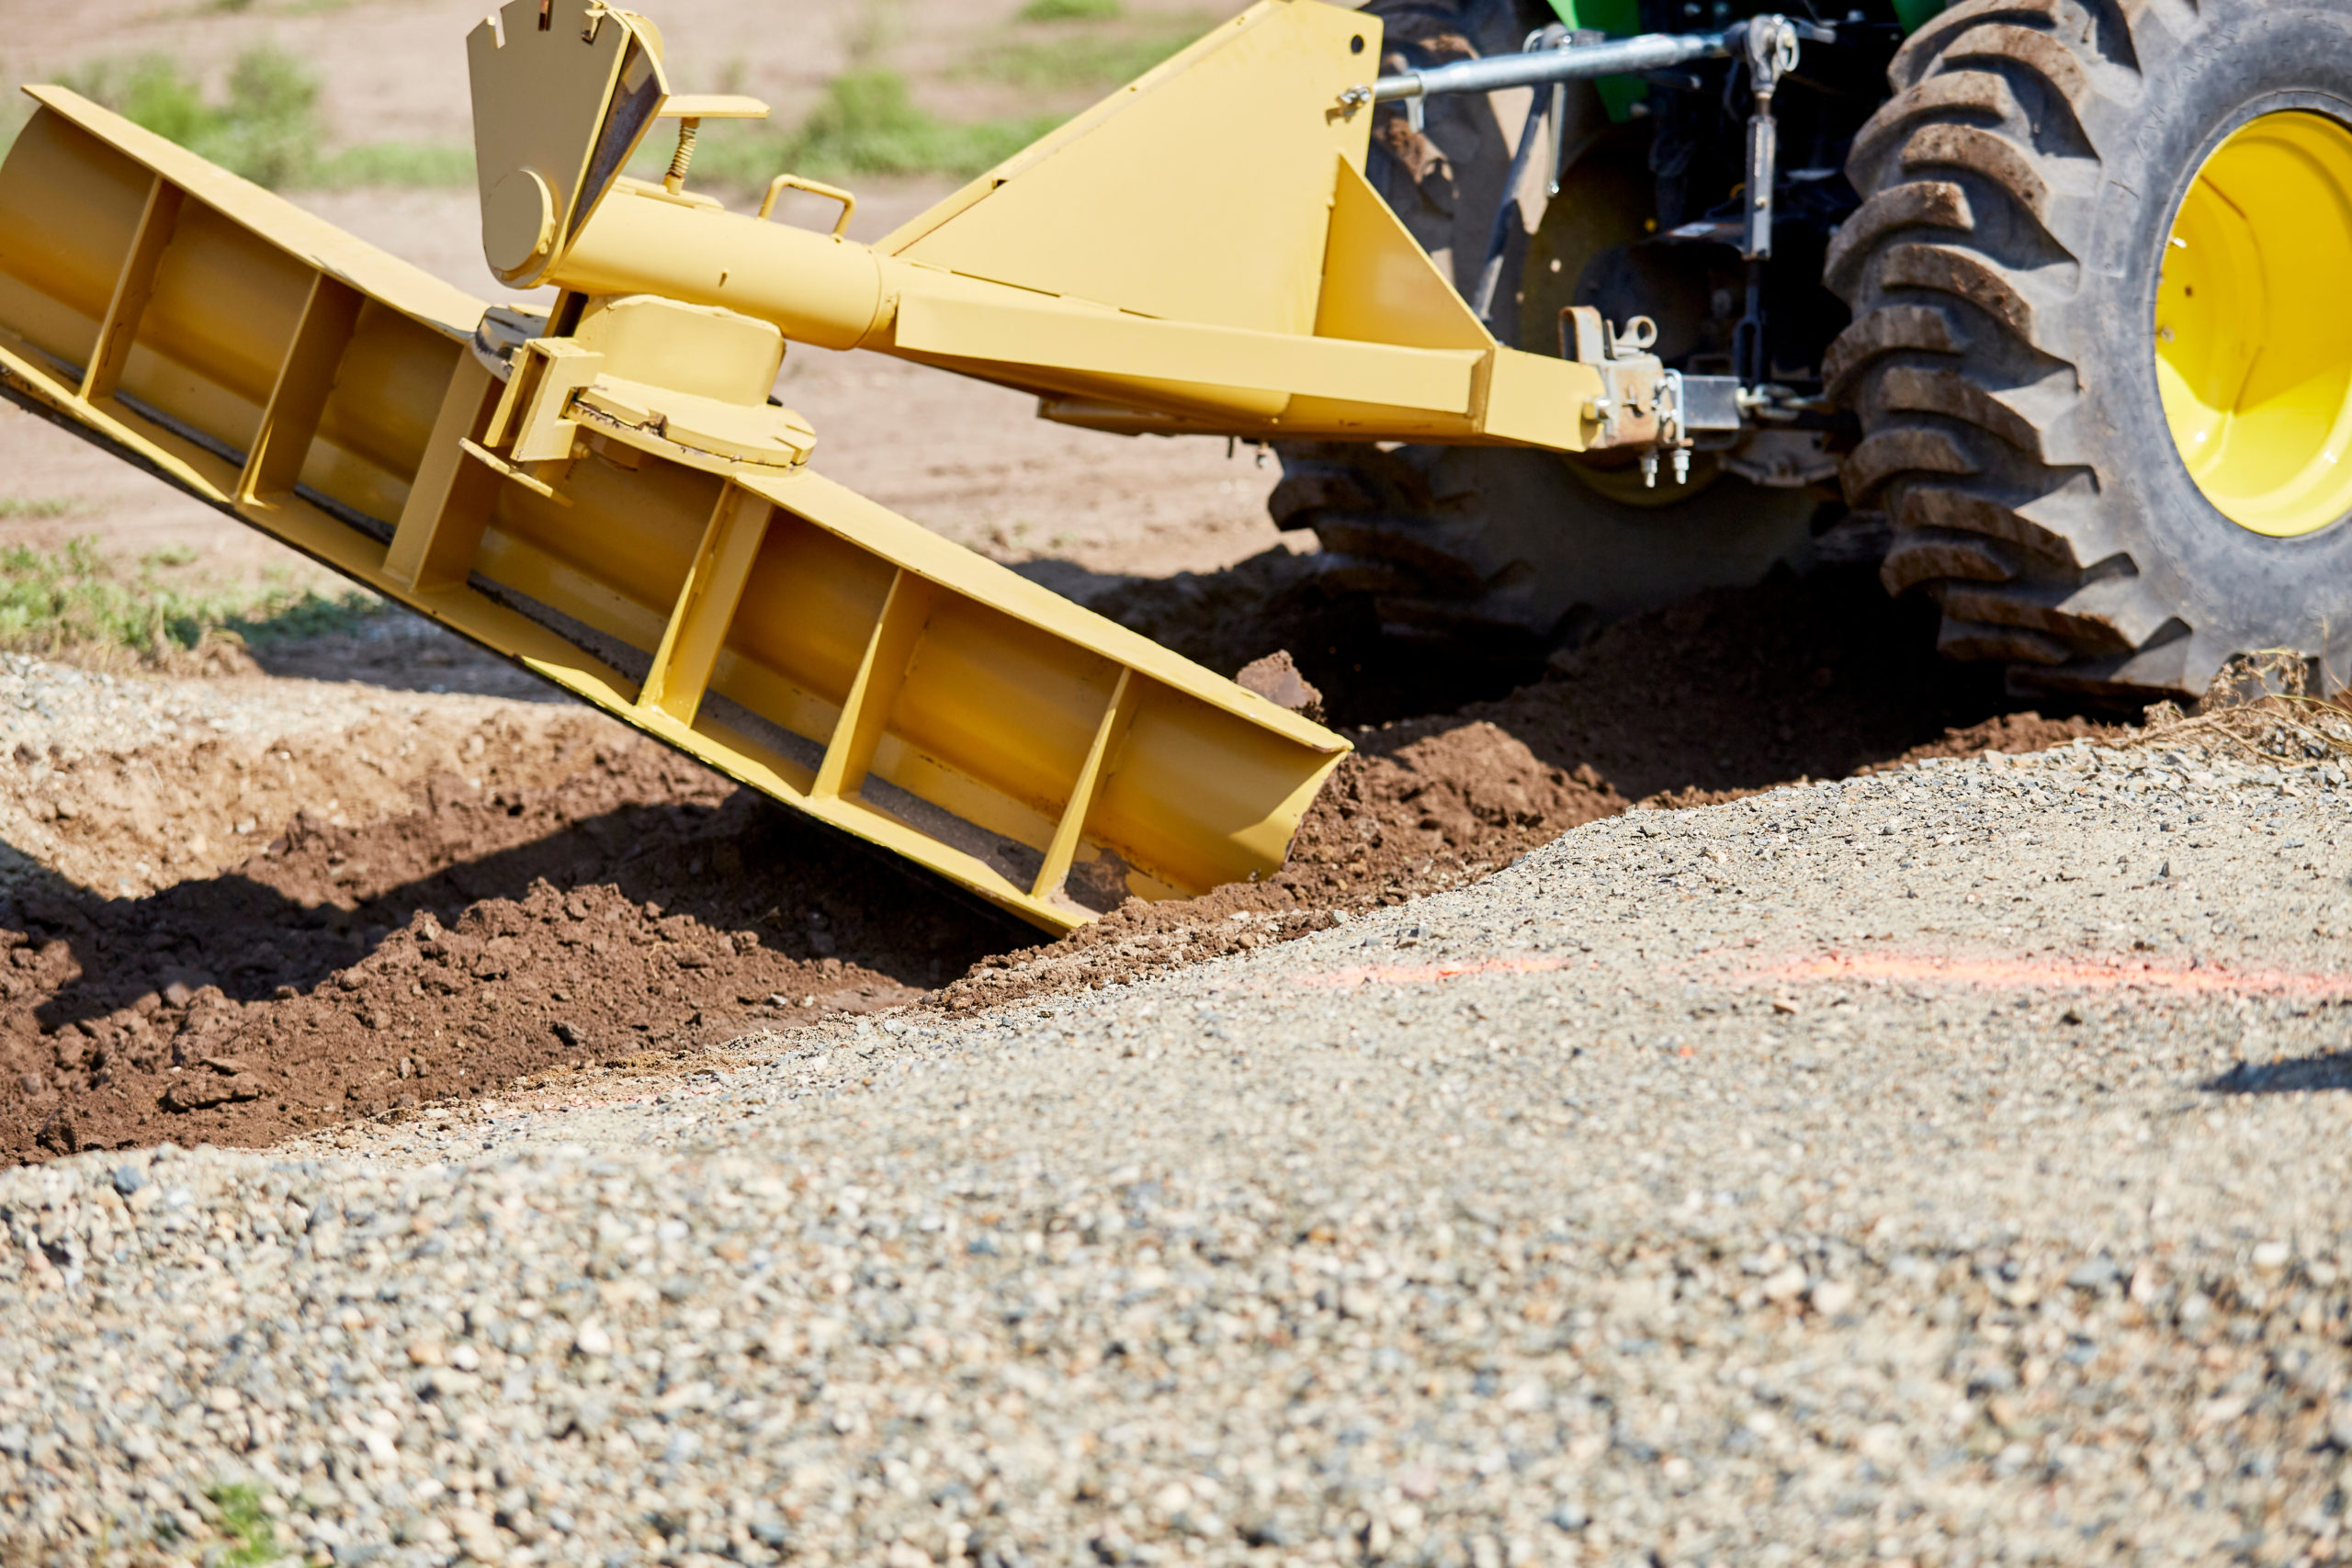
Invest in Tools to Simplify Maintenance:
If you opt for a gravel driveway, investing in tools to maintain it will be beneficial in the long run. The Agritek Driveway Scraper is a game-changer for gravel driveway maintenance. It easily attaches to the 3-point hookup on your tractor and allows you to quickly and effectively smooth out your driveway, eliminating ruts, filling in low spots, and restoring the surface to a like-new condition.
Concrete Driveways
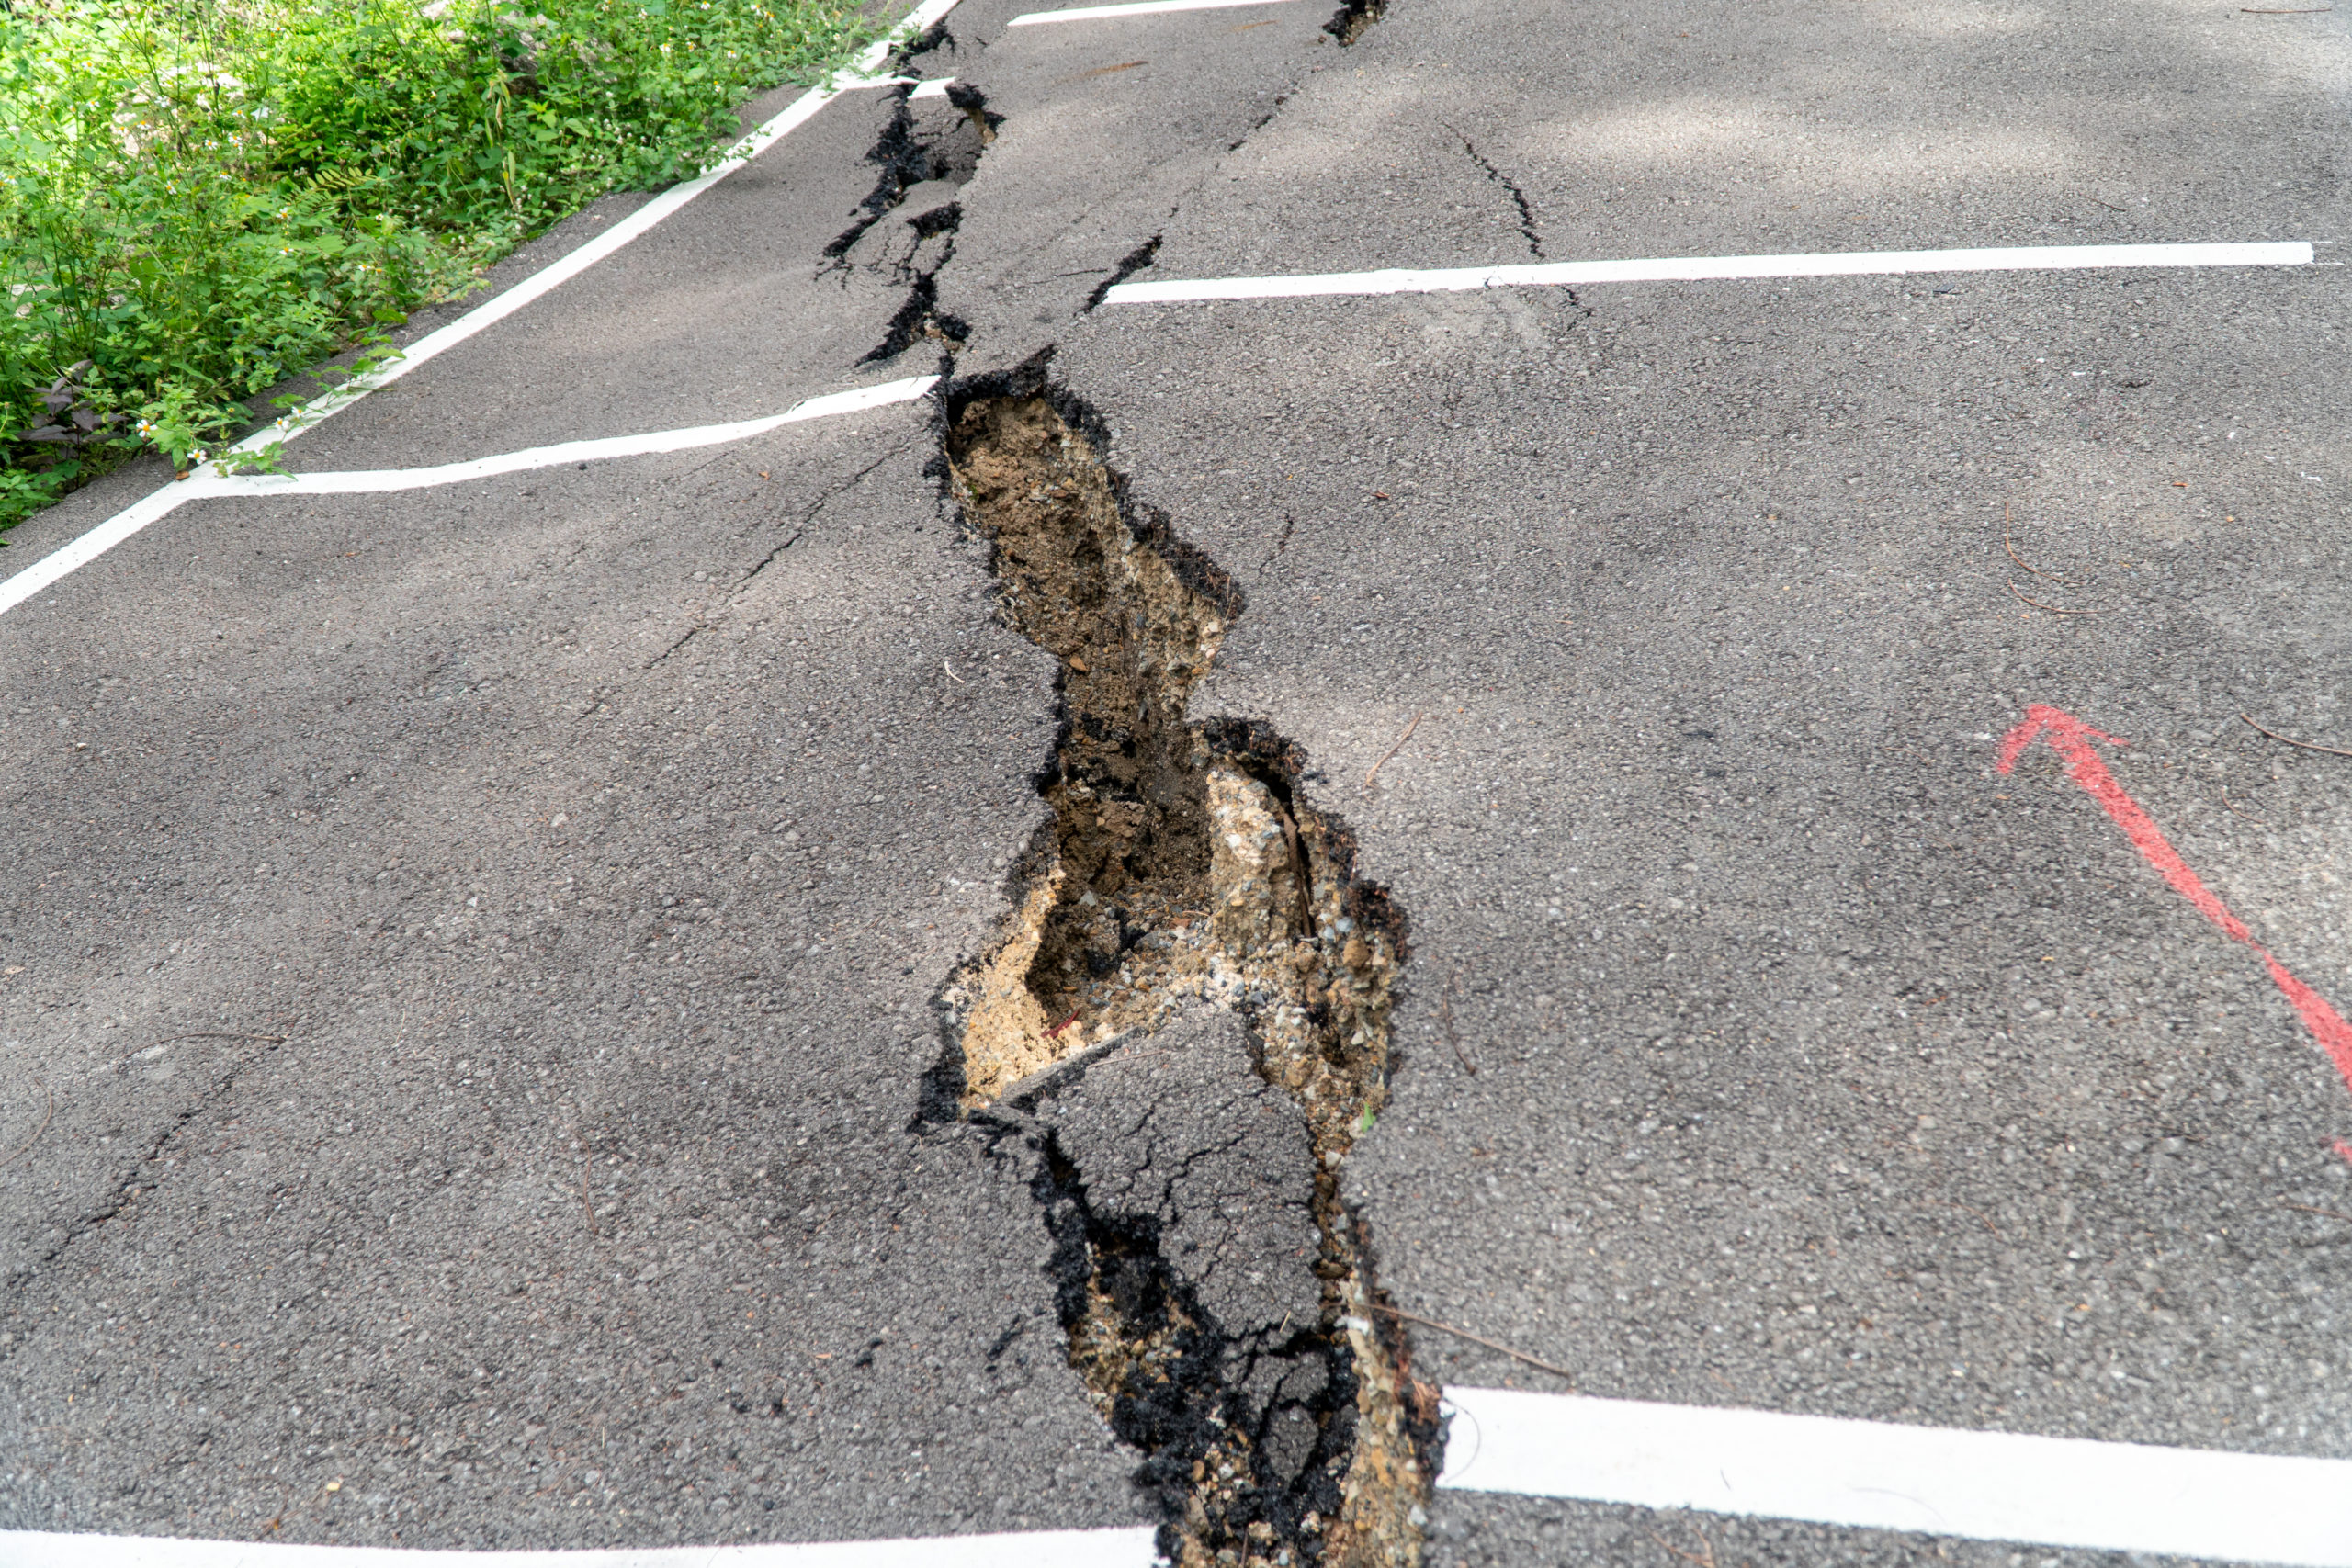
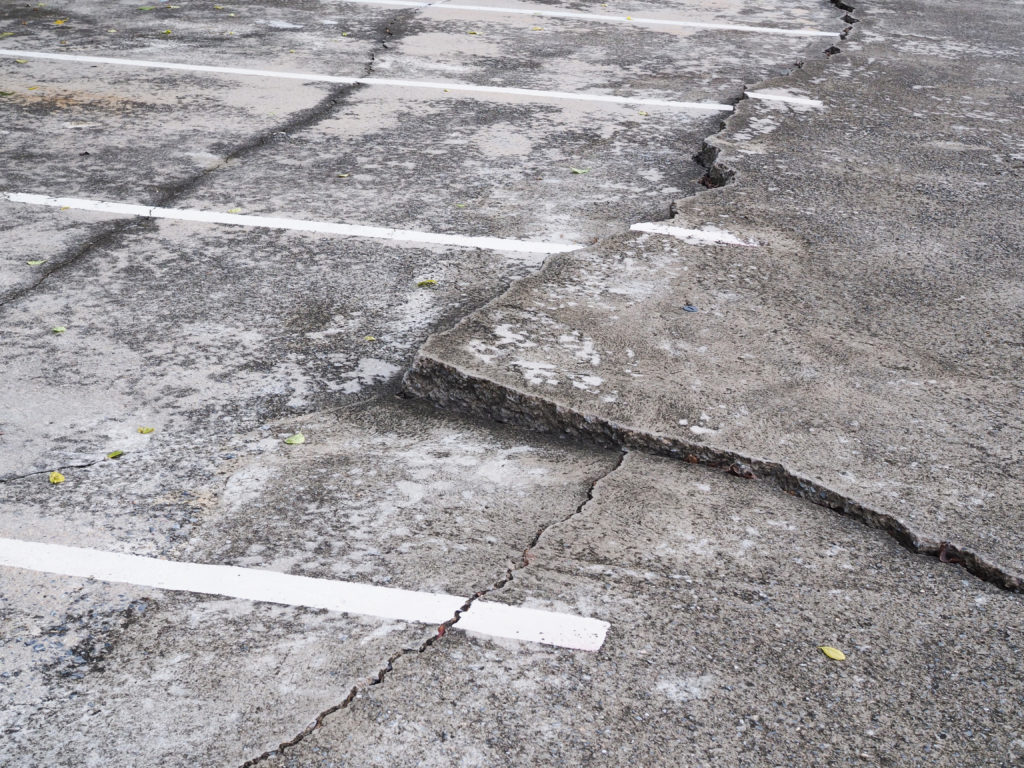
Susceptibility to Cracking and Repairs:
While durable, concrete driveways are prone to cracking over time, particularly in climates with significant temperature fluctuations. Cracks can develop due to ground movement, freeze-thaw cycles, or simply as the concrete ages.
Required Cleaning and Sealing:
Regular cleaning is recommended to keep a concrete driveway looking fresh. This can involve pressure washing to remove dirt, algae, or oil stains. Additionally, sealing the concrete every few years helps protect it from the elements, reduces the likelihood of cracks, and enhances its appearance.
Lower Frequency, But Higher Cost of Maintenance:
While concrete driveways require less frequent maintenance than gravel, the costs can be higher when repairs are needed.
3. Longevity and Durability
After you build a new driveway, you’ll want it to stand the test of time. Here’s how gravel and concrete driveways compare in terms of longevity and durability:
Gravel Driveways
Susceptibility to Weather:
Gravel driveways are more vulnerable to the elements and frequent use. Heavy rain can cause erosion, washing away the finer particles and creating ruts or uneven surfaces. Additionally, gravel driveways can become dusty during dry periods, leading to further material displacement.
Good Lifespan with Proper Maintenance:
With diligent upkeep, a gravel driveway can last anywhere from 10 to 30 years. Regular maintenance, such as raking, filling low spots, and adding new gravel, is crucial to extending lifespan. As we said earlier, tools like the Agritek Driveway Scraper can keep it in tip-top shape.
Concrete Driveways
Resistance to Weather:
Concrete driveways are known for their durability and resilience against weather conditions and heavy traffic. Unlike gravel, concrete doesn’t shift or erode, making it a more stable and long-lasting surface.
Great Lifespan with Proper Maintenance:
A well-maintained concrete driveway can last 30 to 40 years or more. Its longevity also depends on factors like the quality of the installation and the local climate.
4. Aesthetics and Customization
The appearance of your driveway plays a significant role in your property’s overall curb appeal. Both gravel and concrete driveways offer different aesthetic qualities and customization options:
Gravel Driveways
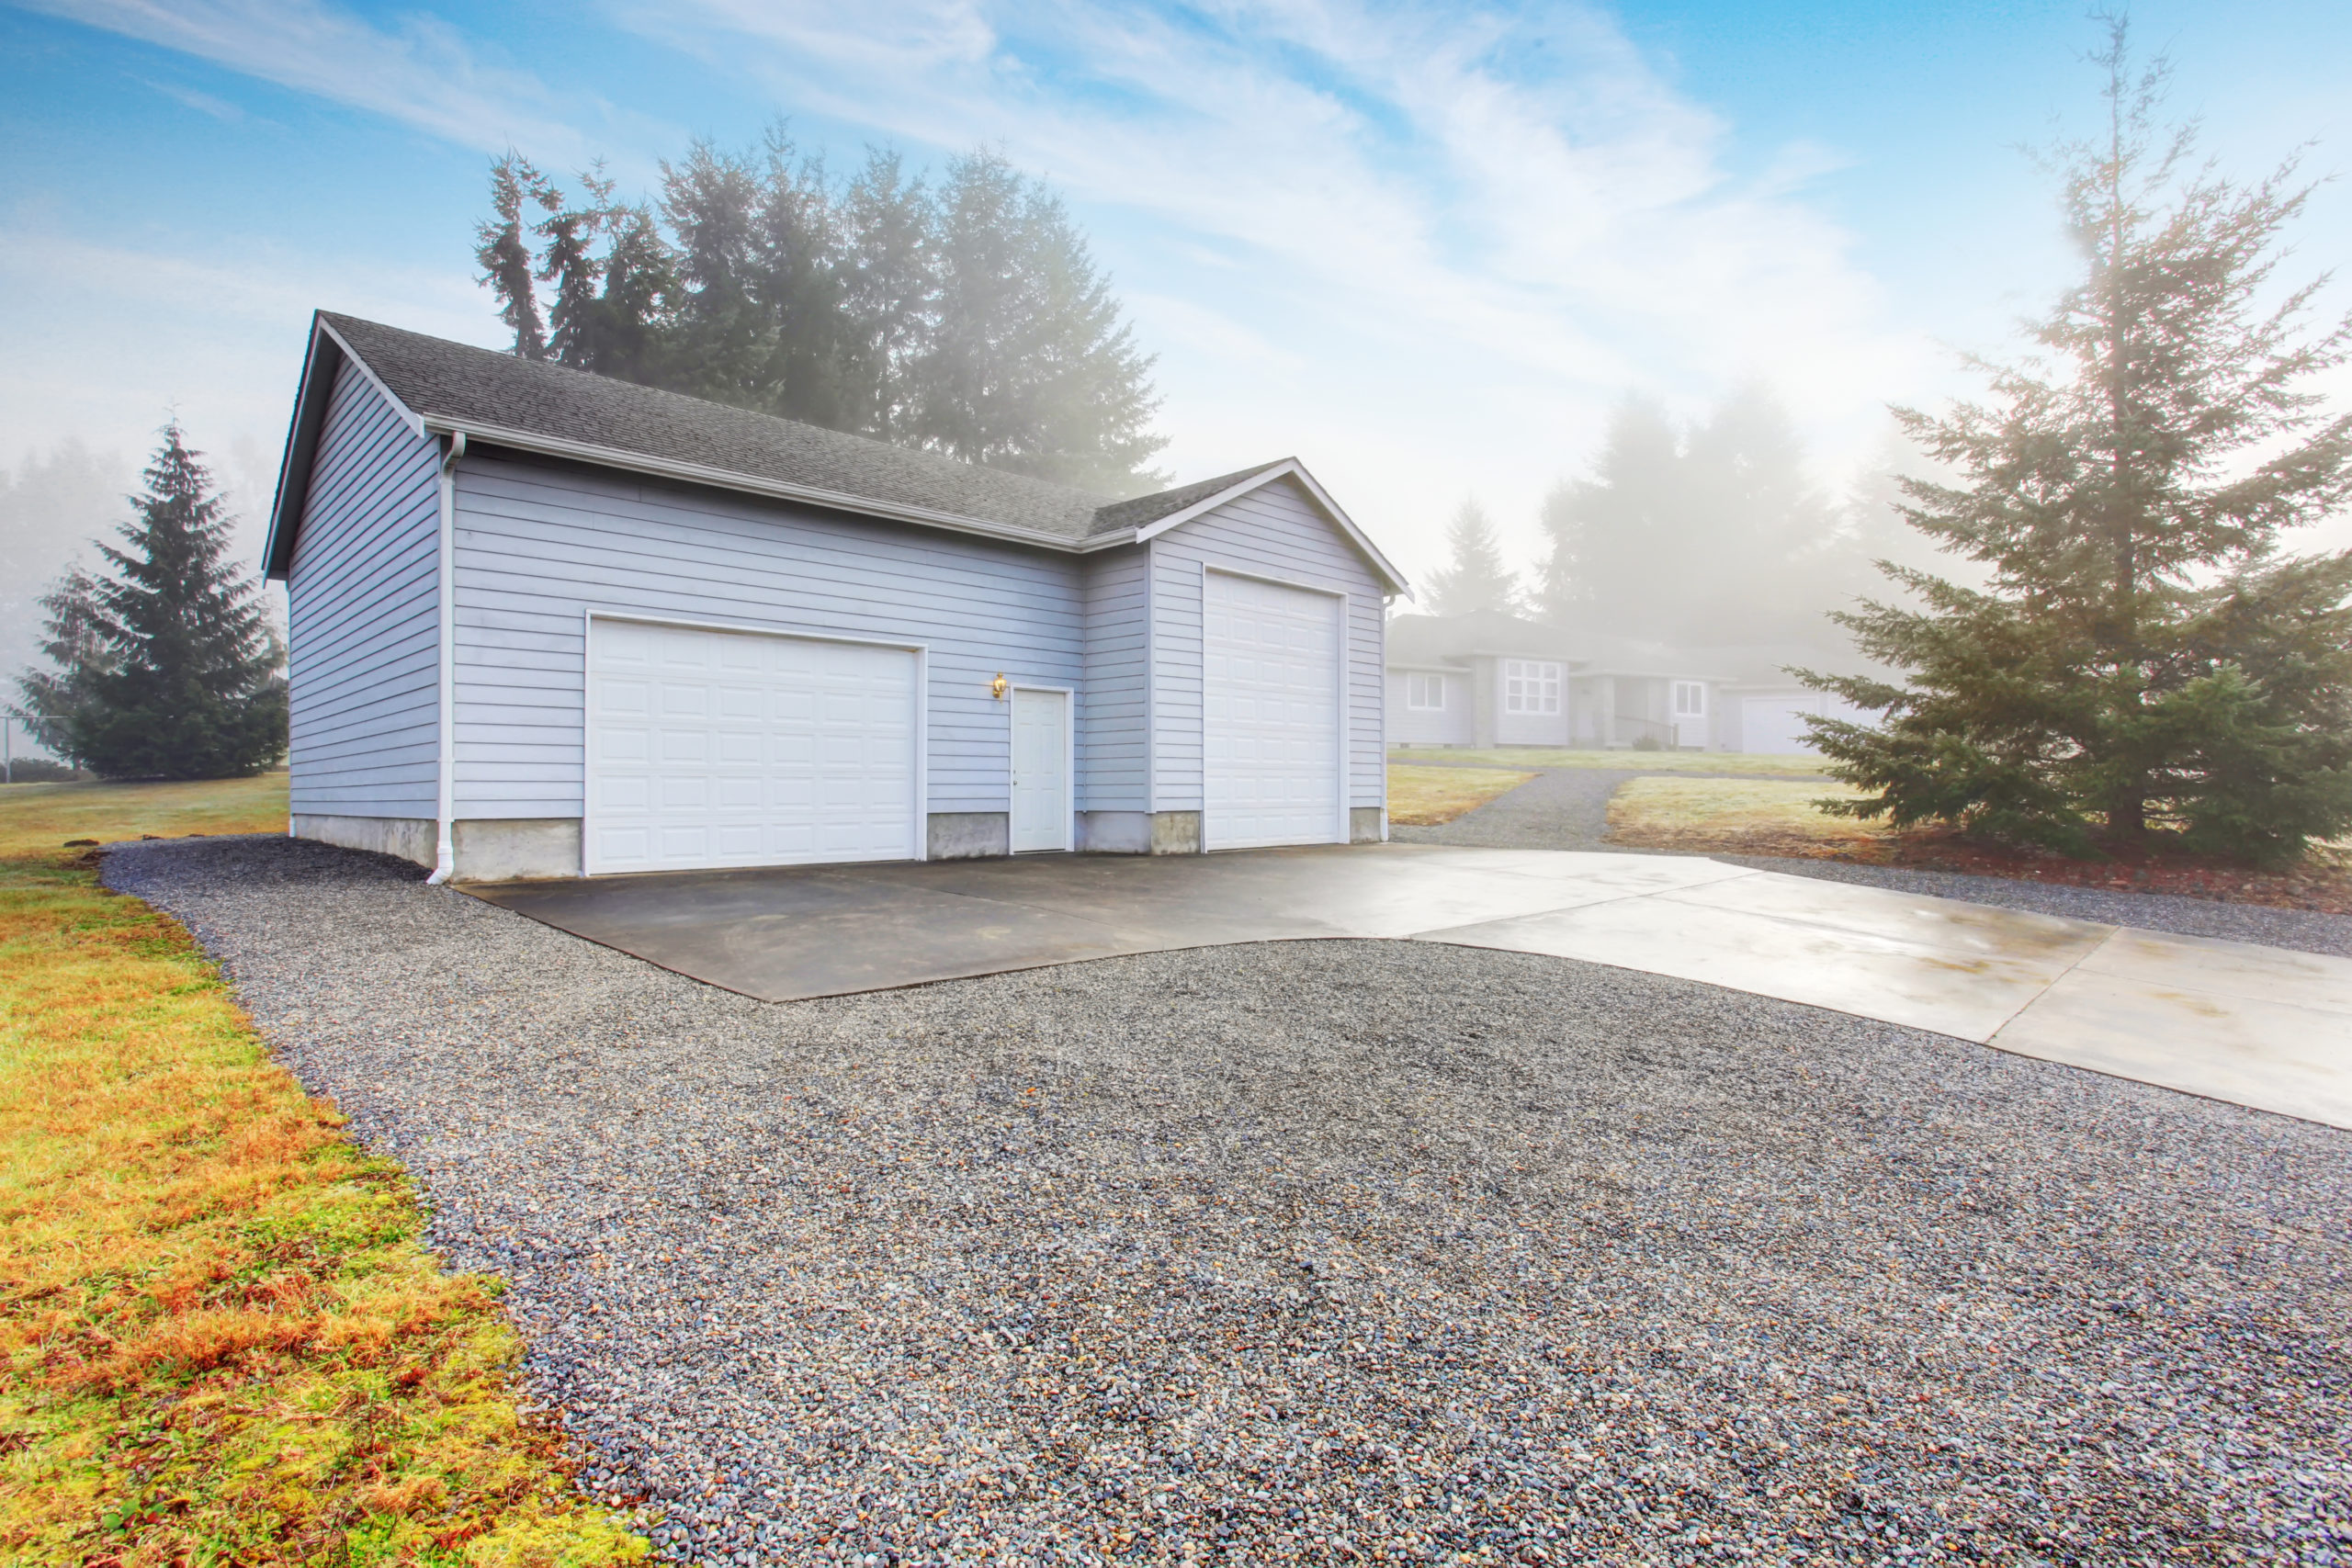
Many Colors and Sizes:
Gravel comes in various colors, from earthy browns and tans to vibrant reds and grays, allowing you to choose a color that complements your home’s exterior. Plus, gravel is available in different sizes, from fine pea gravel to larger, more rugged stones, giving you flexibility in the texture and appearance of your driveway.
Natural Look and Feel:
One of the most appealing aspects of a gravel driveway is its natural look and feel. Gravel’s organic appearance can enhance the charm of your property, giving it a more inviting and relaxed atmosphere.
Highly Customizable:
Gravel driveways are highly customizable, not just in terms of color and size, but also in shape and layout. You can easily adjust the width, create curves, or design unique patterns with different types of gravel to achieve a distinctive look.

Concrete Driveways
Variety of Aesthetic Choices:
Concrete can be colored, stained, or stamped to create a wide range of finishes, from traditional gray to bold, custom hues that mimic the appearance of stone, brick, or tile.
Modern and Clean Look:
Concrete driveways are known for their sleek, modern appearance. They provide a clean, uniform surface that complements contemporary and traditional homes alike.
Customization Options:
Concrete driveways offer numerous customization options. Stamping and engraving can create patterns that mimic the appearance of more expensive materials, such as cobblestone or slate, at a fraction of the cost. Additionally, you can choose from various textures, such as brushed, exposed aggregate, or smooth finishes, to achieve the desired look.
Gravel vs. Concrete Driveways: The Summary
When choosing gravel vs. concrete driveways, it’s essential to consider the whole picture. In summary:
- Gravel driveways offer a lower initial cost, natural appearance, and easy customization, but they can require more maintenance, especially to combat erosion and unevenness.
- Concrete driveways have a higher upfront cost and expensive installation. But they provide superior durability, a sleek and modern look, and require less frequent maintenance.
- Both options allow for a range of color, texture, and design customization, making it crucial to align your choice with your budget, maintenance preferences, and desired aesthetic.
Invest in the Agritek Driveway Scraper for Long-Term Gravel Driveway Success
If you decide on a gravel driveway, investing in proper maintenance tools is crucial for long-term satisfaction. The Agritek Driveway Scraper is an excellent investment, ensuring your gravel driveway remains smooth, level, and free from ruts with minimal effort.
This tool not only simplifies regular upkeep but also extends the lifespan of your driveway, making it a practical choice for any gravel driveway owner.
For more information on how the Driveway Scraper can benefit your property, check out our website today!
The material and information contained on this website is for general information purposes only. You should not rely upon the material or information on the website as a basis for making business, legal, or other decisions.